As a designer, I get super excited about parties. It’s like my creativity can open wide up in a new field and I can become a “decorator, design, chef, and stylist” all in one! When my kids were very young, I had a little bit of a hard time finding balance between a well styled party and an over the top party. Don’t get me wrong, I still LOVE a good over the top party, but I now have respect for a simple party too… and I now have learned that simple can be stylish too! Just like the rest of life, sometimes, you need to leave a little “white space” to appreciate the details you have put love into!
So, today, I wanted to share a few simple party ideas I created for Cricut! With these 5 designs, you truly can create a whole set of party decor!
You don’t need to go overboard to have a well thought out and stylish party… you just need a few things!
1) To start any party, you need a cute invite.
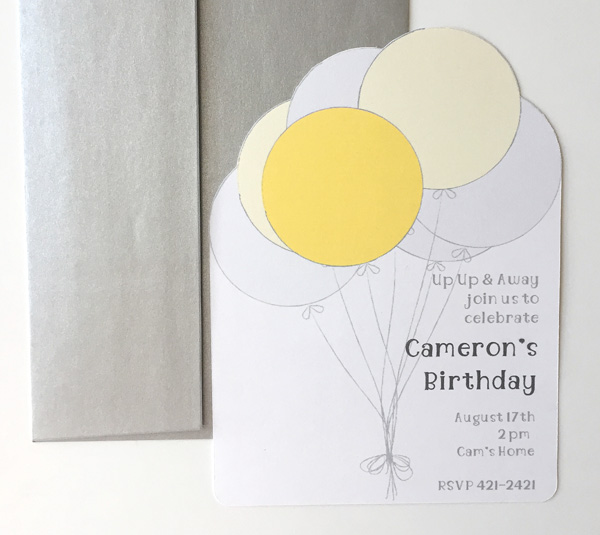
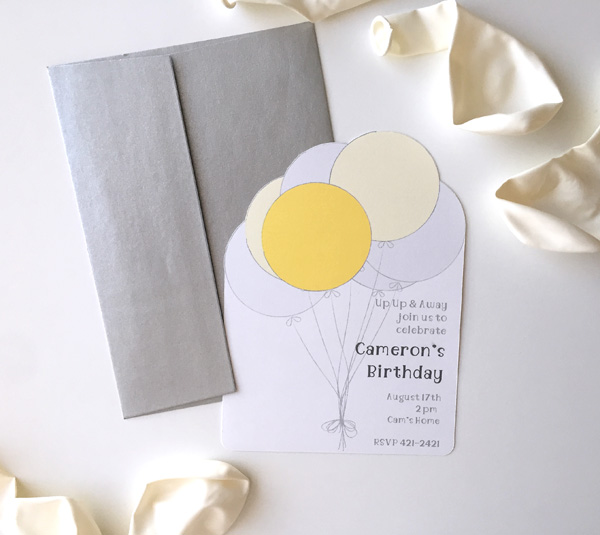 This yellow and grey color scheme is bright and modern, as well as gender neutral! Using the Cricut Explore, I was able to have a custom looking cut out invitation that I printed from home on white card stock! You can see the invite and download it yourself on Cricut HERE!
2) Party Favors!
One of my most humiliating moments was when one of my kids (very young at the time) asked a party host for their “party favor” as we left… and there wasn’t one. After turning bright red and explaining to my then 2 year old that it’s impolite to ask for a gift from anyone…. like… EVER. After I calmed down, I thought about it, and I am sure my little one thought that, because I always made sure to have some sort of tiny favor for our guests. It can be so simple, and doesn’t have to cost much, but it makes a guest smile on their way out… and if you can tie it in to your party design… even better! I bought a bag of candy and filled these cute little bottles for the guests to take home, but you could do a punch balloon for kids if you have enough sugar!!
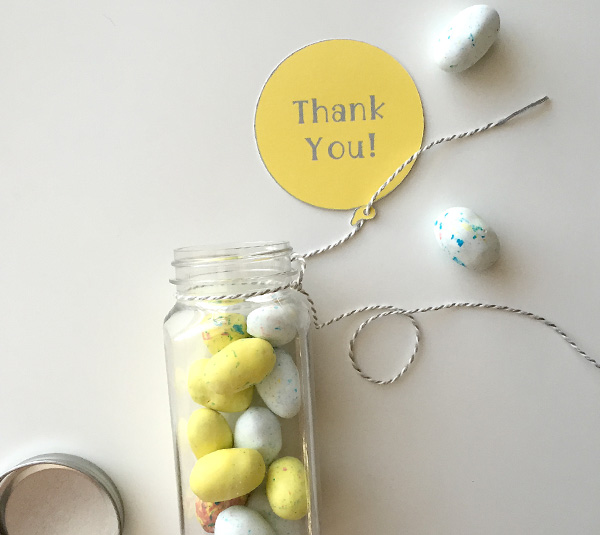
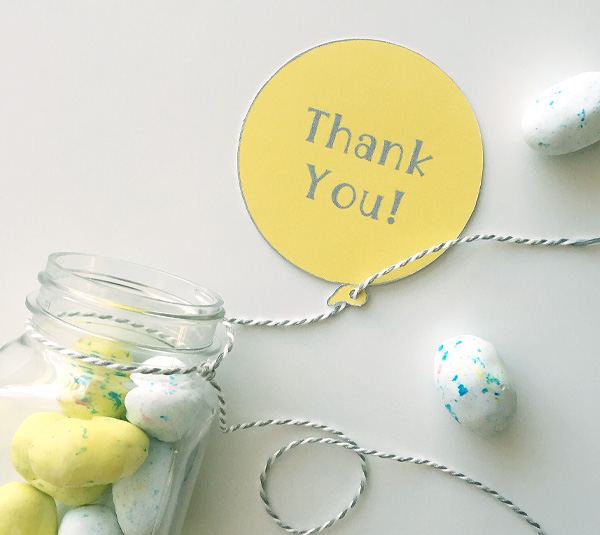
I created these little “balloon tag” designs that are adorable when strung with bakers twine to resemble the balloon string! Using Cricut Design Space, I typed my text in, printed my tags on white #110 card stock and sent them to cut!
You can find these on Cricut HERE!
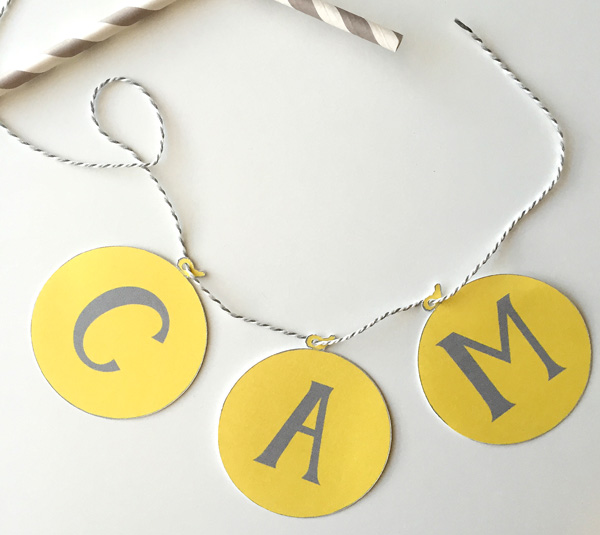
3) MULTI USE Coordinating Party Decor!
Y’all, I am a sucker for anything that is “multi use”, so I love party supplies that are based on color so that you can use them in a variety of ways! Grey paper straws can be used to hold up cake toppers, speared with a marshmallow and dipped in chocolate, or obviously… as straws! I wanted my little ballon tags that were used for the favors to be multi use as well, so I used them to create a mini banner!! If this was a first birthday, wouldn’t they be perfect for a highchair banner? Plus… coordinating decor!
The mini banner could also be a cake topper, strung on the back of the guest of honors chair, AND strung across a front door wreath! Get creative and use these things in different ways to create a lot of coordinating decor without breaking the bank! You could even print these bigger on vinyl and adhere to the wall!! CUTE!
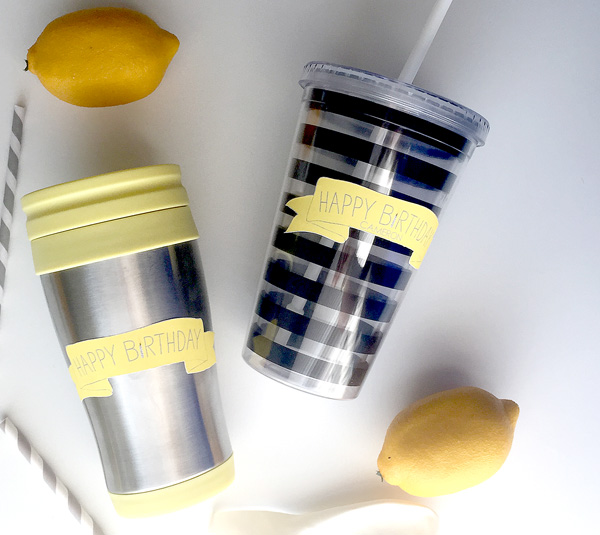
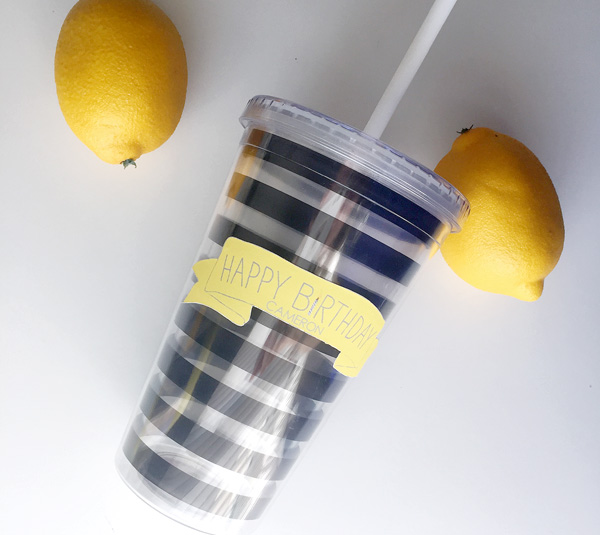
Another multi use party decor item is this Happy Birthday Flag I created.
A few things you could do with this design??
a) Print it small on vinyl like I did to dress up plain party cups and mugs
b) print it larger as a wall decal
c) print it on white card stock and attach to paper straws to create a cake topper
d) place on the front of a notebook to create a “guest book”
e) print and cut on vinyl and put it on the mat for a photo frame… then let the guests sign around it. After the party, add a photo from the party!
There are so many things you could create with just a few simple print and cut items, that your party would be perfectly coordinated… just add creativity! Find the “banner flag design” on Cricut HERE.
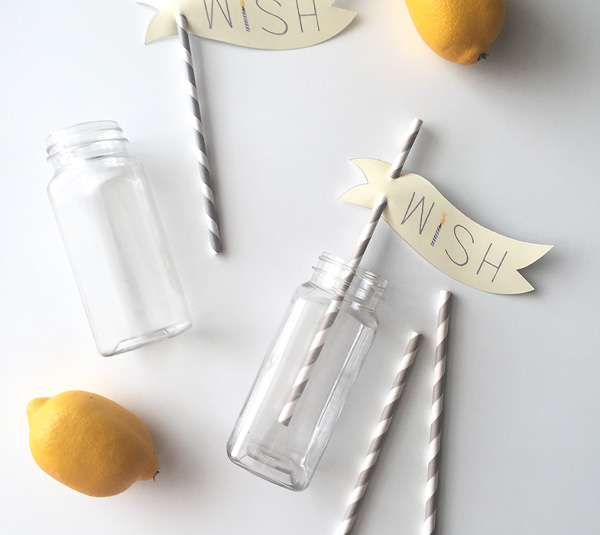
Next up, I created flags! These cuties fit perfectly onto straws, but can also be strung onto ribbon for gift giving, and on lollipop sticks for cupcake toppers! Find the Straw Flags HERE !
Lastly… this one is for the party attendees.
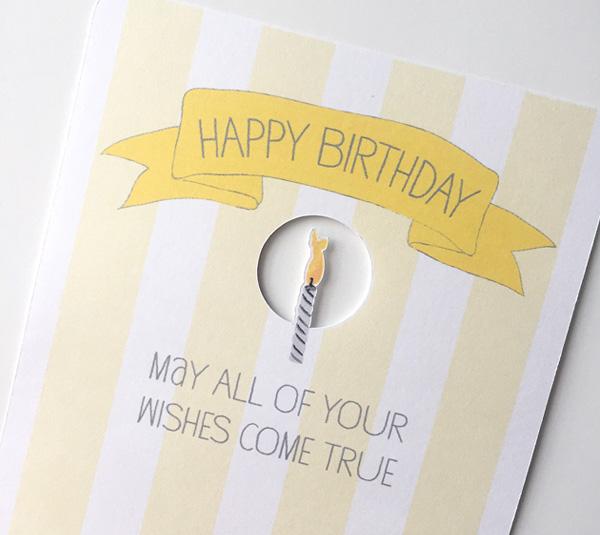
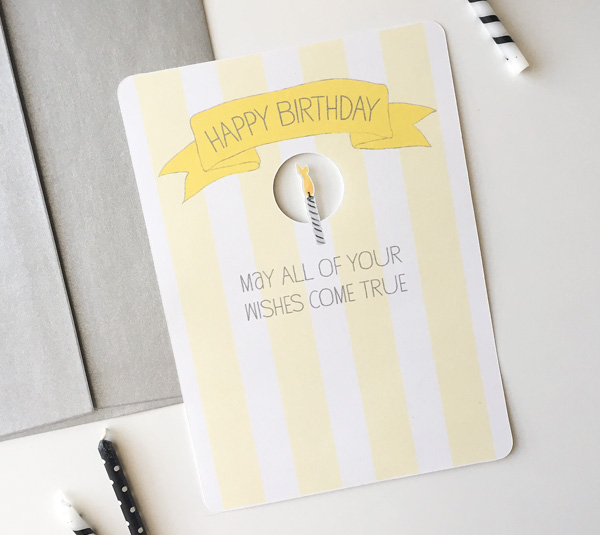
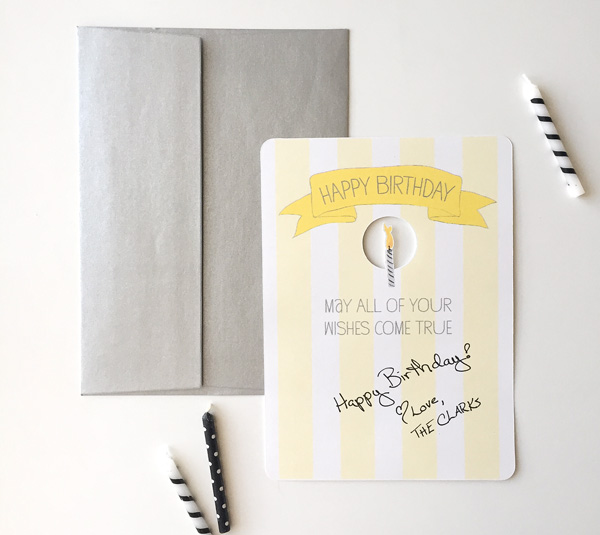
4) The Birthday Card!
I loved this one…I guess I have a thing with cut out designs! The candle is one of my hand illustrations (as is the banner), so I wanted to make it front and center! The bottom of the card is left blank for you to write a personal message, or you can even use the text tool in Cricut Design space if you want to add it to print before hand. I prefer hand written notes on cards, personally, but everyone has a style! Find the Wishes Card on Cricut HERE
I have partnered with Cricut (as I am one of their brands! YAY!) to bring you this post. Circut has supplied me with some products, payment, or credit in return for designing and promoting our designs for their software, but the content and opinions on this post and on the blog are completely mine. I only share products I truly believe will be beneficial to those who read this blog… cause I love y’all! <3