This post is sponsored by Cricut as they have supplied my with the newest machine to review, but the content and opinions in this post are mine, as I am a long time lover of the Cricut Brand!
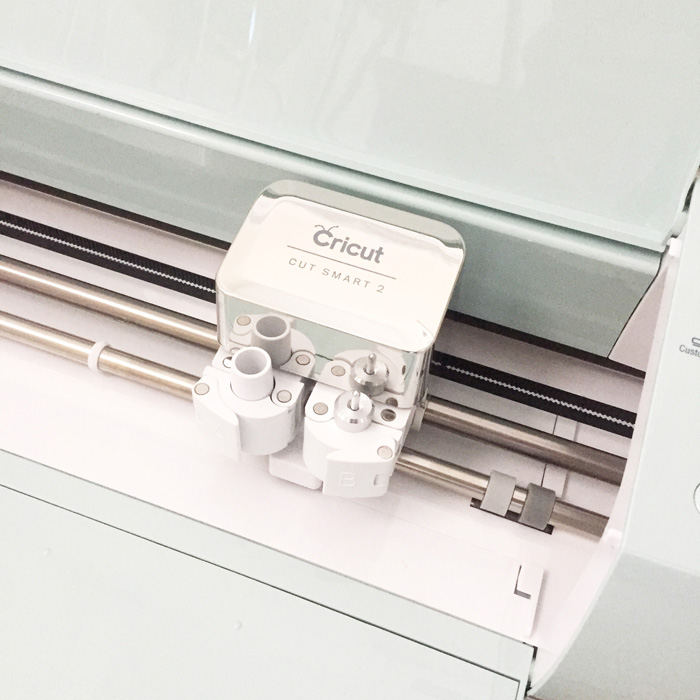
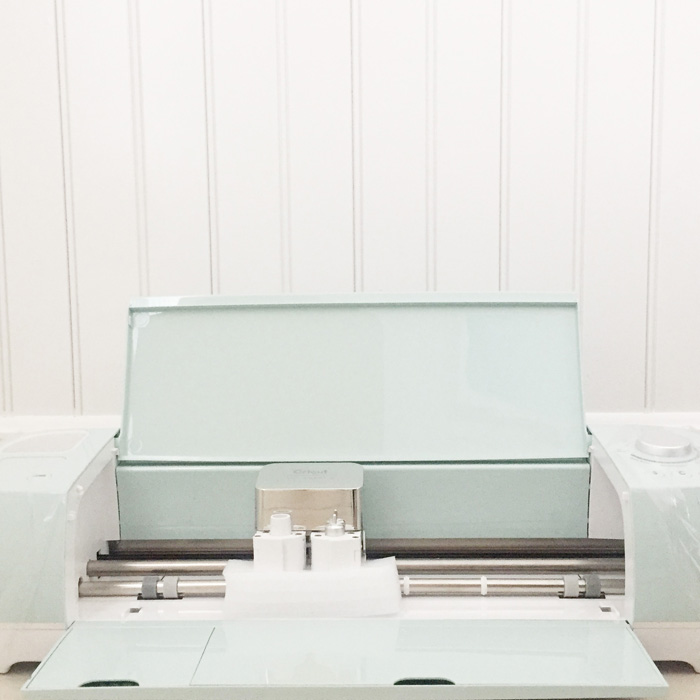
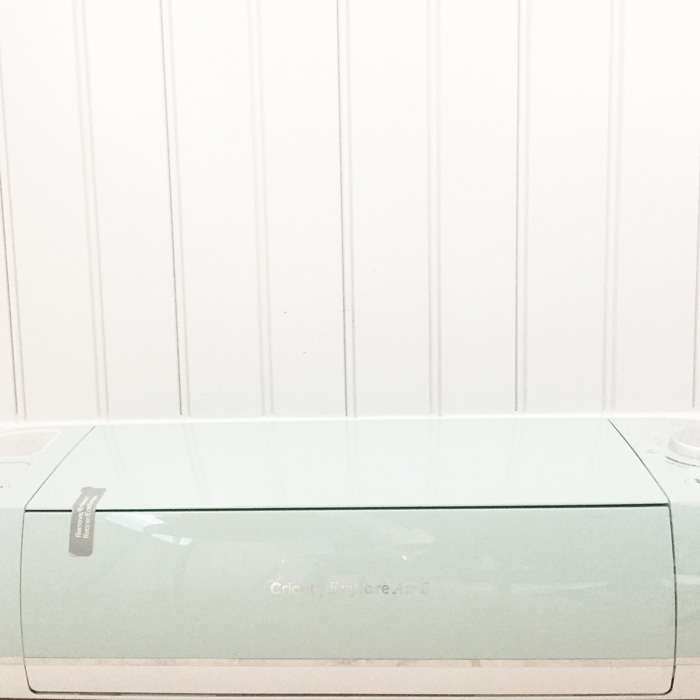
Y’all, obviously it’s no surprise that I love my Cricut (and the whole Cricut Company!!). After all, just check out my Cricut Projects Here or head over to Cricut and check out my brand page HERE! See… told ya, so when I found out that I was going to be receiving the newest Cricut machine, the mint green Cricut Explore Air 2, I was on pins and needles waiting for her arrival! I currently have the original Cricut Explore and love it, but did I mention mint green?
First, lets talk nitty gritty, then I can show you the 10 minute project I made (PS That included the time it took to plug in my new Explore Air 2). So, what is the difference…. well, I have the old school original Explore, so the air has the double tool holder feature, which I was already in love with. This one however can work wirelessly with bluetooth which I didn’t have… but the best part of this machine is the speed. I intentionally choose a design that I knew had a lot of “dots” in the original design, and therefore would be more complex to cut, then I set the 2x faster option, inserted my vinyl and waited with one eye open for the material to start shredding. Much to my delight, it cut perfectly… only twice as fast! Obviously I worried it was a fluke, so I stuck in iron on material and got the same awesome results! I am not going to lie, I dumbly assumed that the 2x faster feature would only work with very simple shapes, but the lettering in my design was anything but simple and it turned out stunning! I feel like I just bought back very needed time in my life! Oh, and did I mention the color…. it is seriously color coordinated with the studio now! YAY!
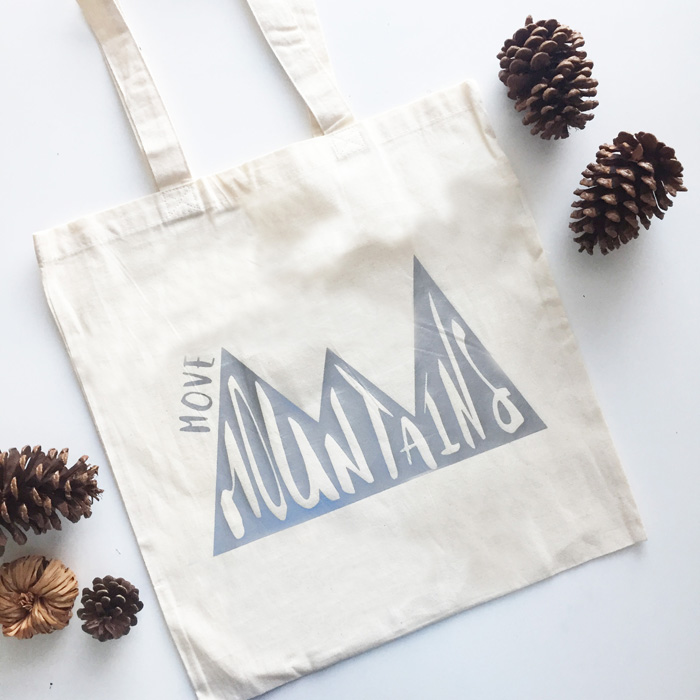
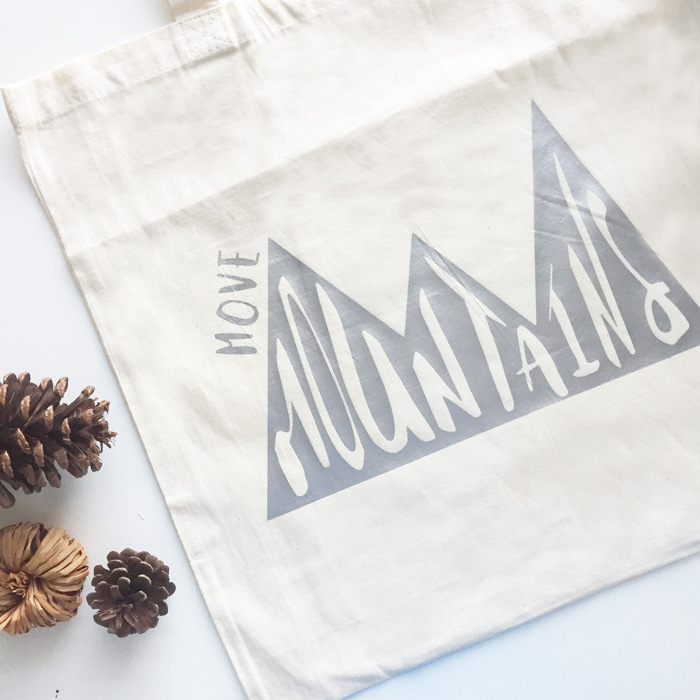
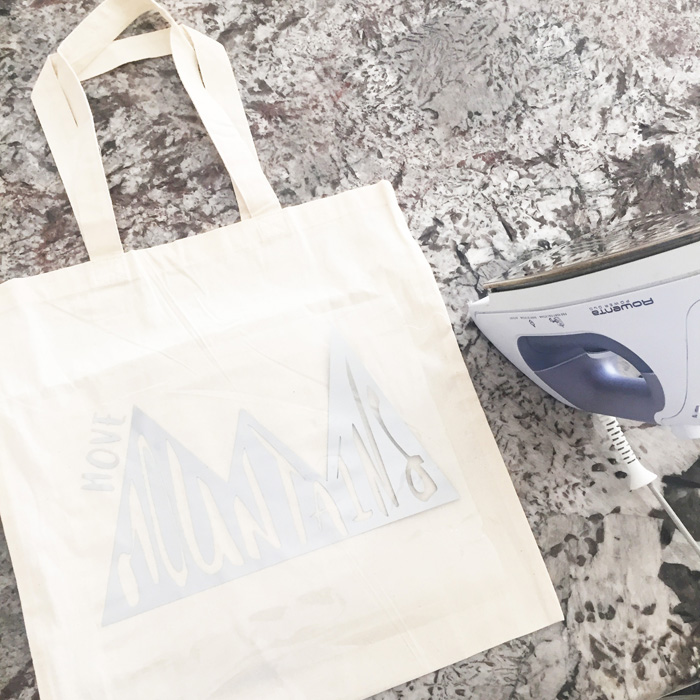
Now for the Super Fast, Design on the Go project I came up with, a “Move Mountains” Tote Bag! This tote bag was made for a gift, and I plan to fill the bag with goodies and give it to a friend who could use some encouragement and inspiration.
First, I choose my design from Cricut Design Space – Move Mountains from my new Pine and Dandy Design Set. Next, I choose my iron on material, Silver Cricut Brand Iron On, and rolled it out onto my cutting mat. Make sure you click mirror image in Design Space when you are using iron on material to take advantage of the clear liner that holds your design together!
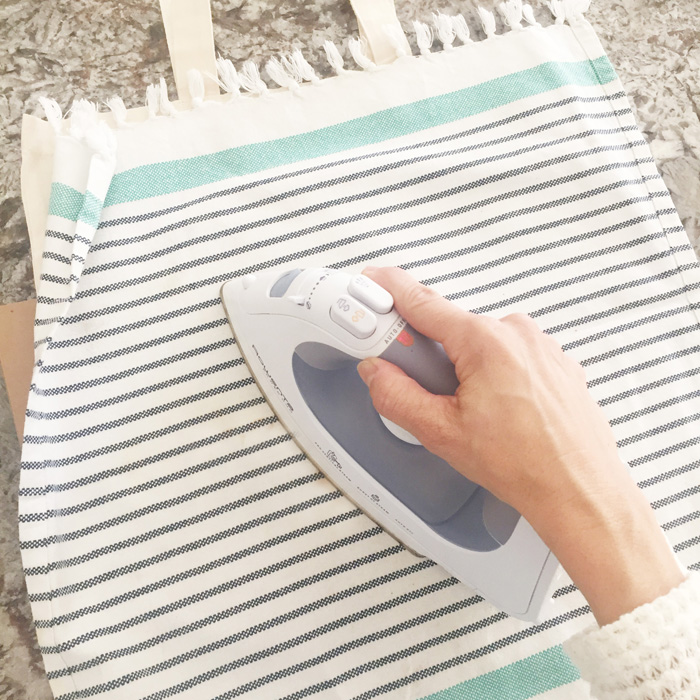
Feed it into the Cricut Explore Air 2 and select the fast feature (seriously!!!) and then let her cut! Once your design is cut, simply weed it, apply it to your tote bag, cover it with a dishtowel or cloth and iron away! I iron it with the clear liner still on at first, then again after I peel the liner off (using a cloth to cover the design both times).
Ten minutes later, drop some goodies in the bag and deliver to a friend, teacher, or co-worker who needs a little inspiration!



Why do you need to weed the project?? Have not cut anything other than paper so not familiar with iron on products.
Thank You
The iron on material has a clear backing that doesn’t cut on the iron on setting, so you have to weed away what you don’t want and the rest will stay intact on the clear backing, which just makes it easier to lay it on your material and make sure everything is lined up the way you planned! You should try iron on! It’s so fun and super simple! =)
Love it Kori! I’m getting ready to make a t-shirt for Ella for her birthday and I’m not sure if I want to try iron-on or just use vinyl + fabric paint.
Personally, I love the way that fabric paint looks if it’s sponged on… sort of “worn” looking, but I have a hard time passing up glittery iron on vinyl too! lol