As I was looking through my blog the other day I realized a few things, one… I have posted quite a bit over the years and two… some of these posts that I remember like yesterday were YEARS AGO! I decided that it would be a good time to start resharing some of my favorite DIYs, free printables, downloads, and more throughout the year, because even though I feel like I just shared these yesterday, I may not have known you all 5 years ago!
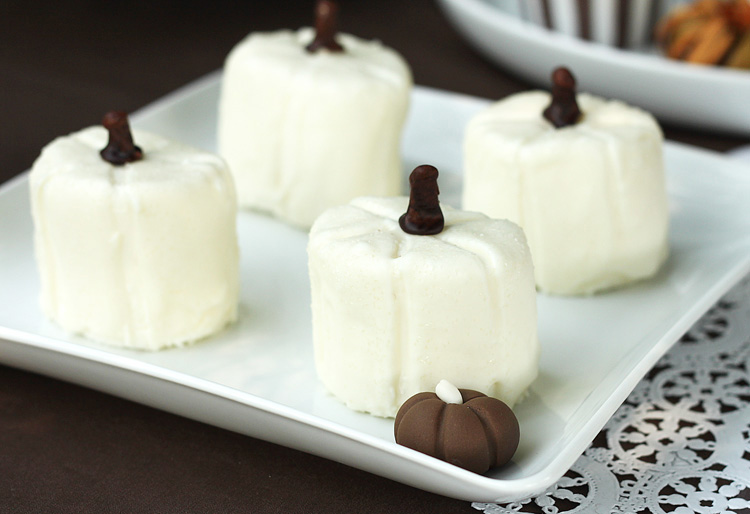
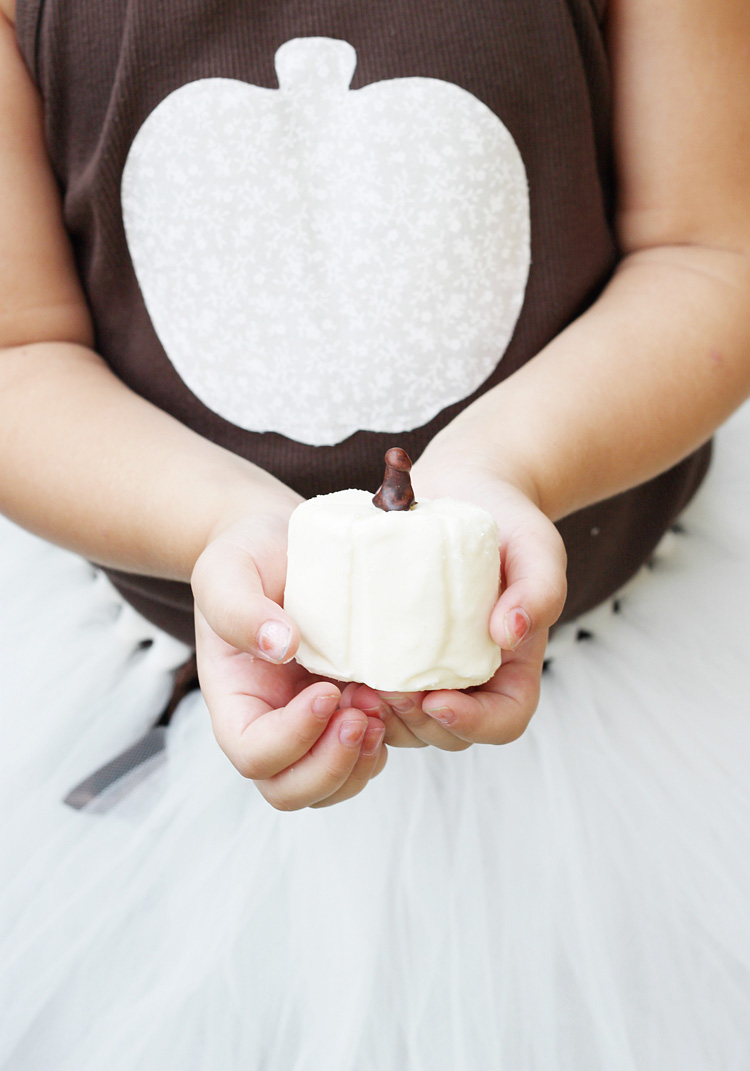
So, to kick off the first re-post, I am sharing these chocolate covered marshmallow pumpkins! If you follow me, you know that I don’t post recipes, but this was more of a craft…plus I love sweets and white pumpkins, so I hope you enjoy!
** First Posted September 30th, 2011 HERE **
Sometimes I try something that sounds good in my mind….then it is a total disaster….so when the opposite happens and the results turn out cuter than I thought, I kind of get ridiculously excited! These pumpkins were a basic concept and I honestly made them up as I went along. When they were finished I loved them so much I had to make more just to get photos for a tutorial to share with yall! I hope you all will try them this fall!
The ingredients….

I used big marshmallows so these turn into a serious treat! You also need either toothpicks or lollipop sticks like I used, white chocolate chips (or melting chocolate), and cookie icing (it dries hard so you can hold the pumpkin by it’s stem!)
1) melt chocolate (I melted in the microwave in 20 sec intervals until it was melted)
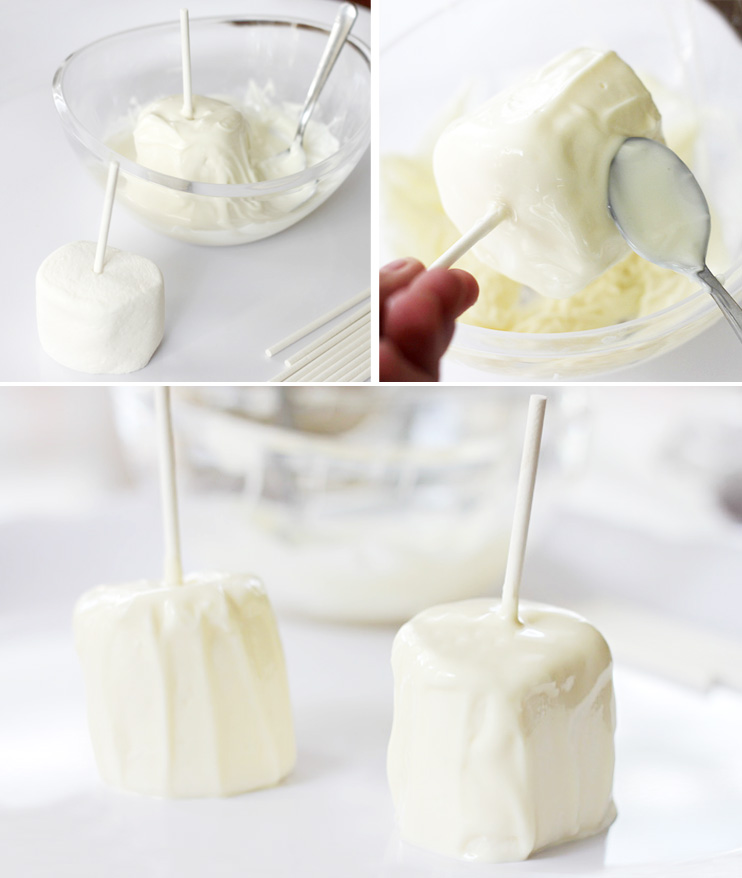
2) insert a lollipop stick into the center of each marshmallow and all the way down
3) dip the marshmallows in the chocolate using a spoon to make sure they are covered completely, and to run down the sides to even out the chocolate
4) one they have been dipped (allowing the first to dry a little bit….probably about 30 secs to 1 minute) use another lollipop stick (or toothpick) to run from the “stem” all the way down the side making indentations around the marshmallow. You will be able to see some of the marshmallow poke through, but it’s fine as it’s all white!
5) now run the stick under each marshmallow “pop” to “tuck in the chocolate” before it fully dry and move the marshmallow to a clean plate to finish
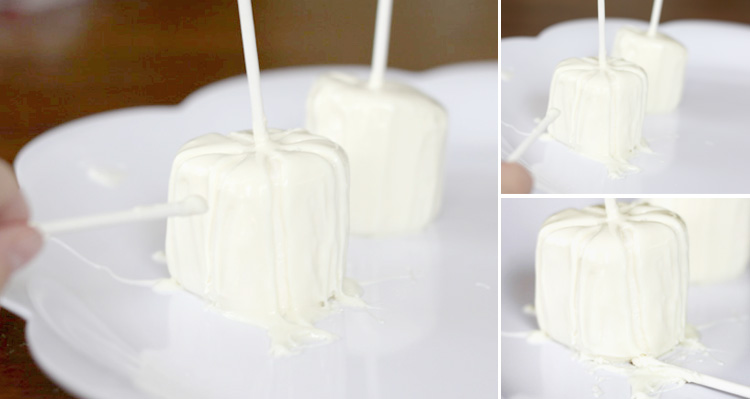
almost there
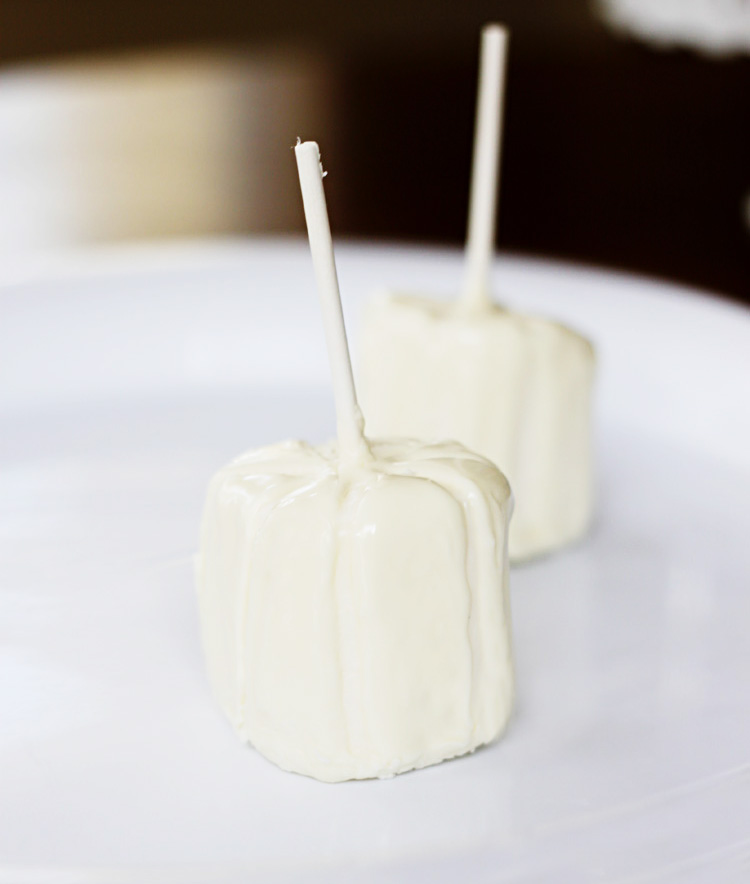
Now to add the stems!
6) using the chocolate cookie icing, run the icing up the base of the pop where it meets the marshmallow….continue to do this all around. It will run down a bit, but it’s fine…I think they look more realistic this way!
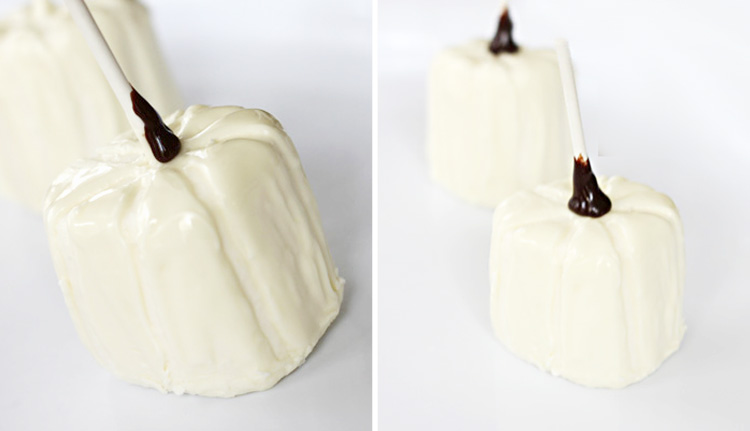
7) cut off the top of the lollipop stick, and place another drop of chocolate icing on top so the lollipop stick is covered completely!

and VOILA! You are done! Once the cookie icing dries, you can hold these sweets by the stem to eat….super and easy! I hope you will try them!
**hints** for my perfectionist friends….you can run warm water over a spoon and use the back to touch up any areas of chocolate you don’t like, and for my friends who like more BLING, I covered the first batch with clear crystal sprinkles….so cute!!
