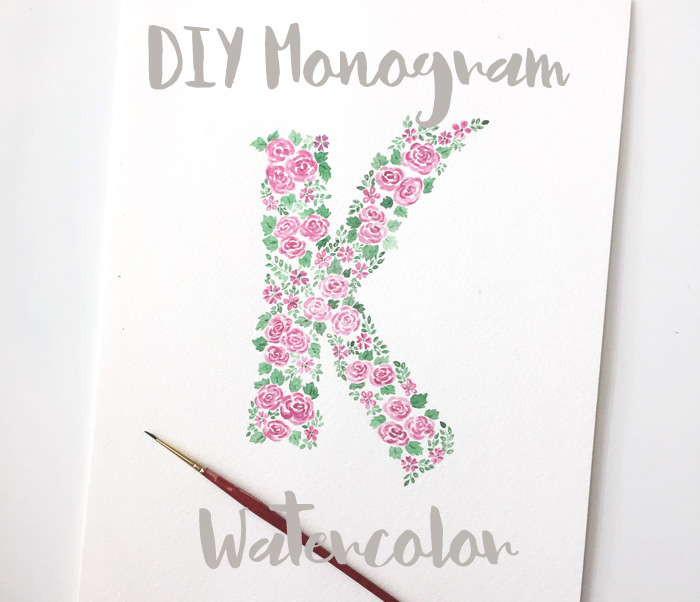
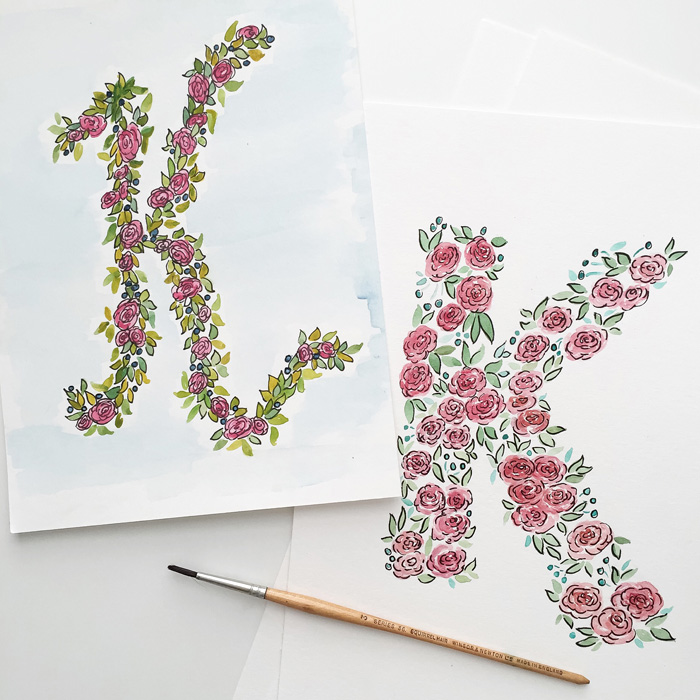
When my friends over at Wayfair decided to do a “Guest With The Best campaign”, they asked for creative, DIY Hostess gift ideas that anyone could make, I knew right away that I wanted to share how to create a Watercolor Floral Monogram! I have been meaning to post about this easy project for a while and this was such a perfect reason! We all have plenty of summer travels, backyard parties, and gatherings with friends to attend over the summer months and into the fall, so you want to be prepared with great hostess gifts that are fun to make, personal, and won’t break the bank!
To get started, you will need watercolor paper (#140 paper… I love hot press, but cold press is easiest to find and will work great), watercolor paints (start with what you have, even if you have to steal your little one’s crayola set, you can always upgrade when you begin watercoloring more…. and you will!), small watercolor brushes (sizes 0 and 2 would work great), and a pencil!
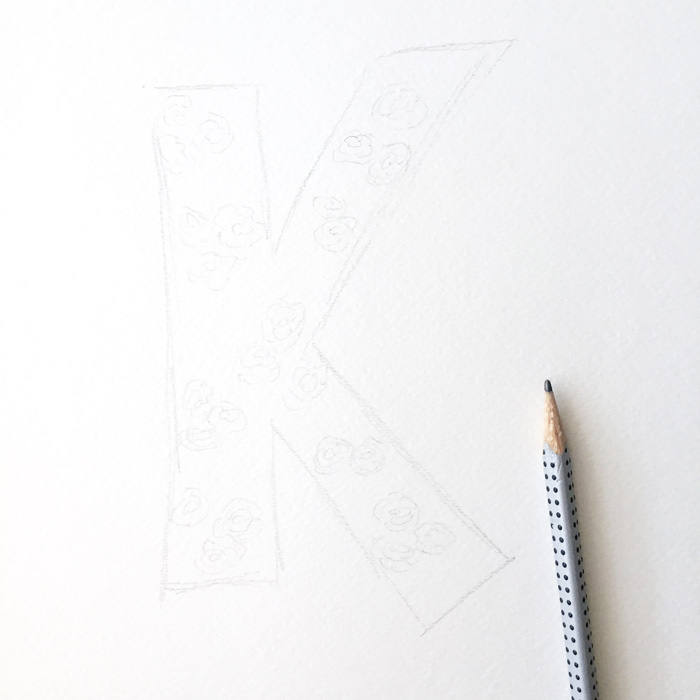
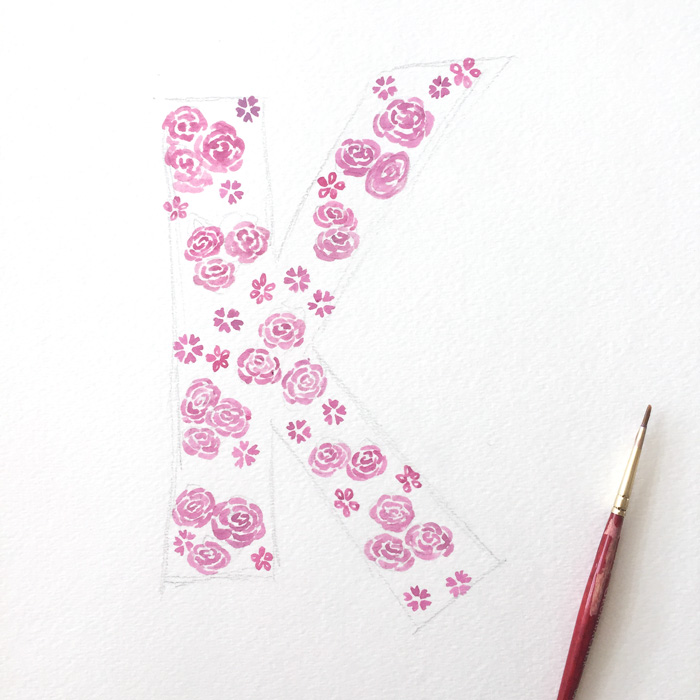
First, sketch out the outlines of a block style monogram for your hostess and very lightly sketch out small areas where your roses will go. I try to group mine in little groups of three sporadically through the letter.
Once you have a basic light sketch, you are ready to paint! There is no need to draw everything, we will fill in the rest with paint. I created a post showing how to paint tiny flowers that shows in detail how to create the roses and florals we are going to use. Swing over to THIS POST for the flower tutorial!
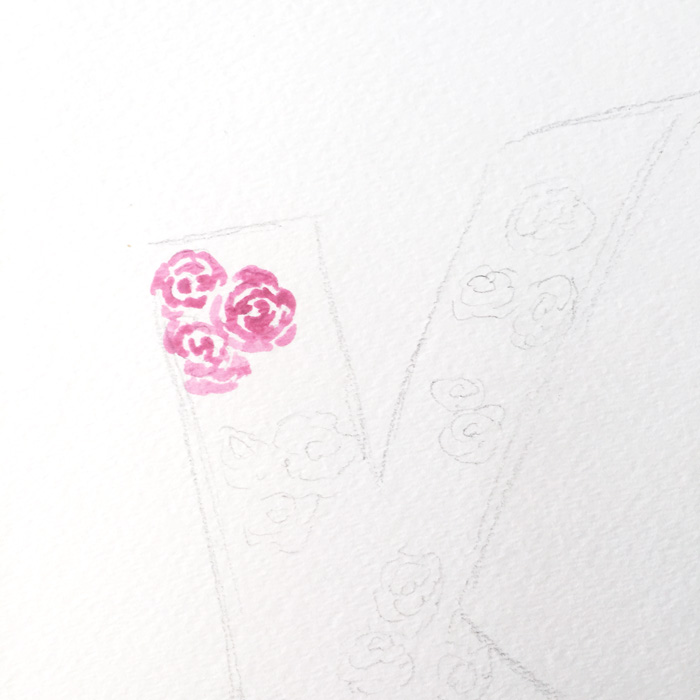
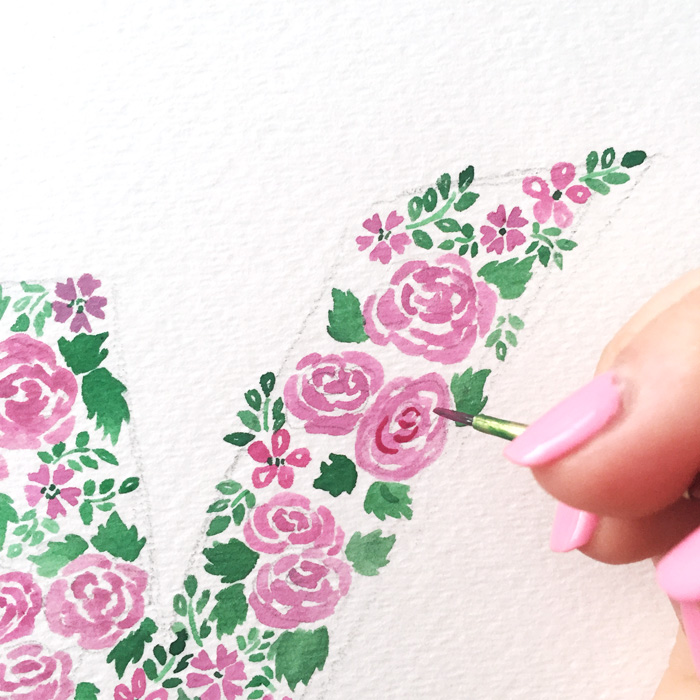
Now, jump right in! Using your hostesses’ favorite color or something that you think will match their home decor, start painting the tiny roses right over the pencil sketch. The opacity of watercolor is one of the things that makes it so pretty, so very light pencil lines add to the beauty under the paint. To create the roses, you start by painting tiny parenthesis and keep adding petals around it… so simple!
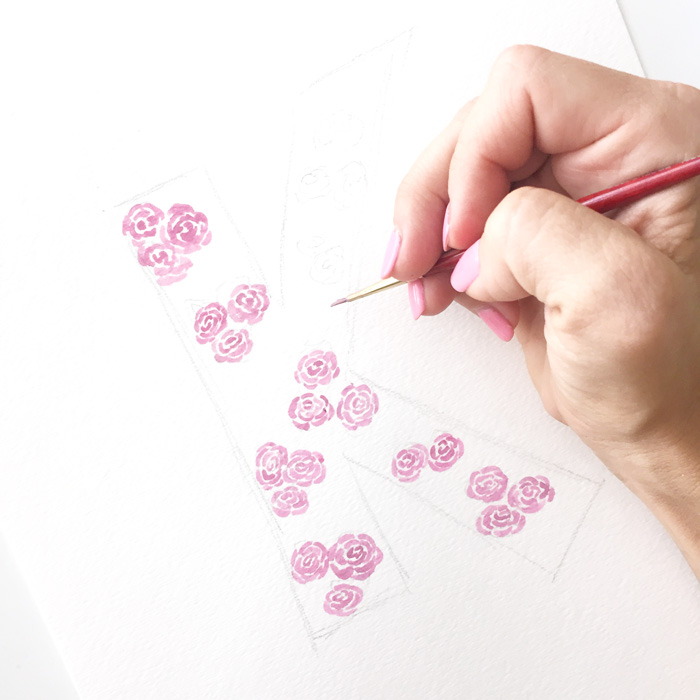
Add the roses to all of the places you sketched out, making sure to leave room for other flowers and greenery!
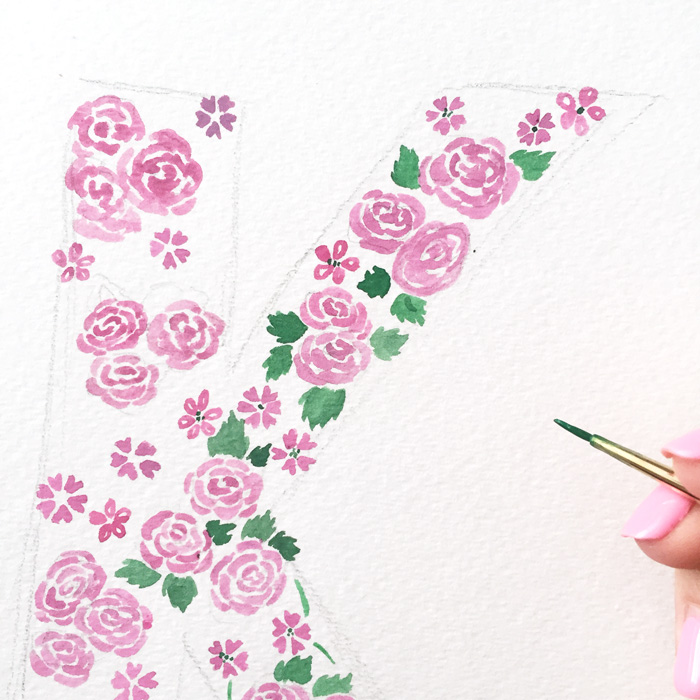
Once the roses are filled in, start adding other tiny flowers in the spaces left. Be thinking ahead here about where the vines and leaves will need to go, which will give you ideas of where the small florals should go! I did two styles of tiny flowers from the floral tutorial to fill in spaces! Feel free to do these tiny flowers in another color if you wish! They don’t have to be the same as the roses.
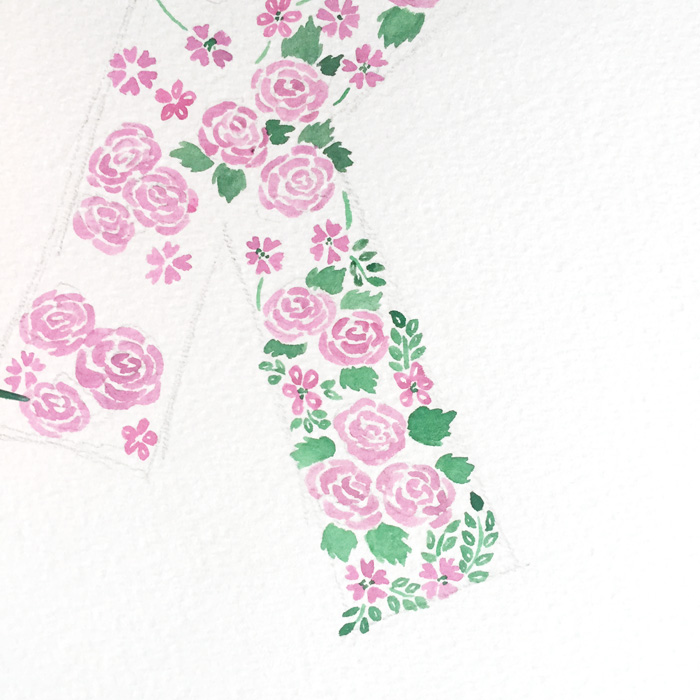
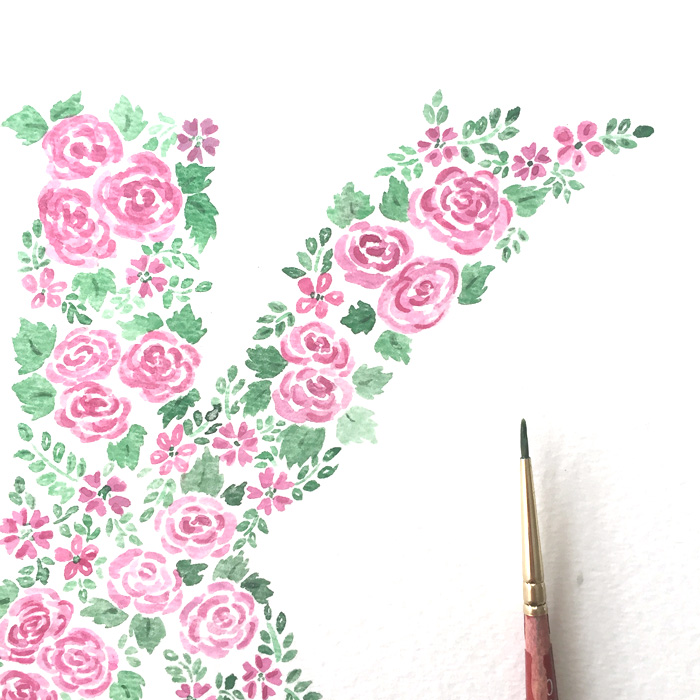
Once you have all of your florals added, it’s time to add the greenery (again, use any color you wish for the leaves… they don’t have to be green!). For the roses, I created fatter leaves by making a regular leaf shape, then pulling my brush out on both sides to create a jagged effect. Fill in all of the “rose leaves” first, then go back and begin adding “vines” to the mini florals. This helps you see where you may still need to fill in with more florals or leaves. You can create longer vines, but I kept mine short here and was intentional to fill in the space!
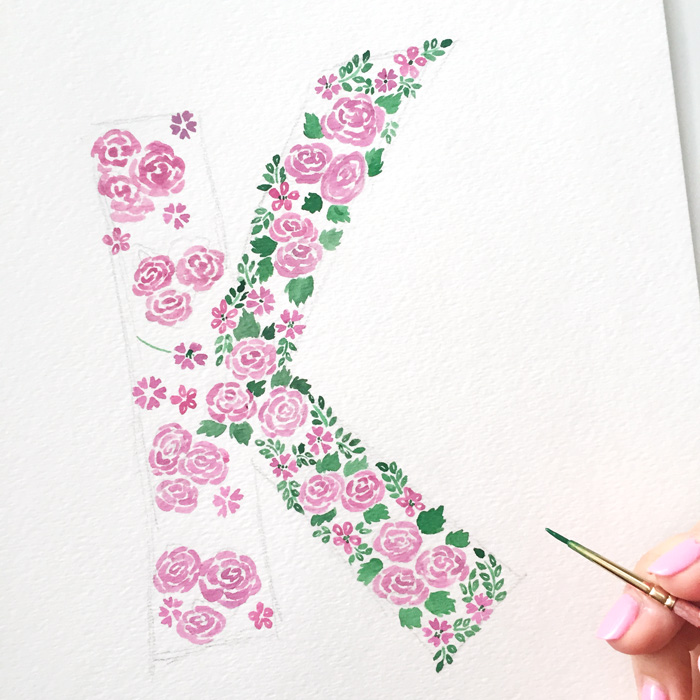
Once you have the vines down, start adding small leaves to the vines.
I worked on the right side first, then I turned my paper over and did the left side… do what works best for your letter!
After you have filled in your letter, it’s time to add a few details! Take a darker shade of the original colors and add detail by making small lines around some (not all) of the flower centers, petals, and leaves. This will really kick your painting up a notch, so don’t leave this part out!!
When you finish the painting, very lightly erase the pencil lines around the outside of your letter (and any stray pencil lines inside of the letter!!).
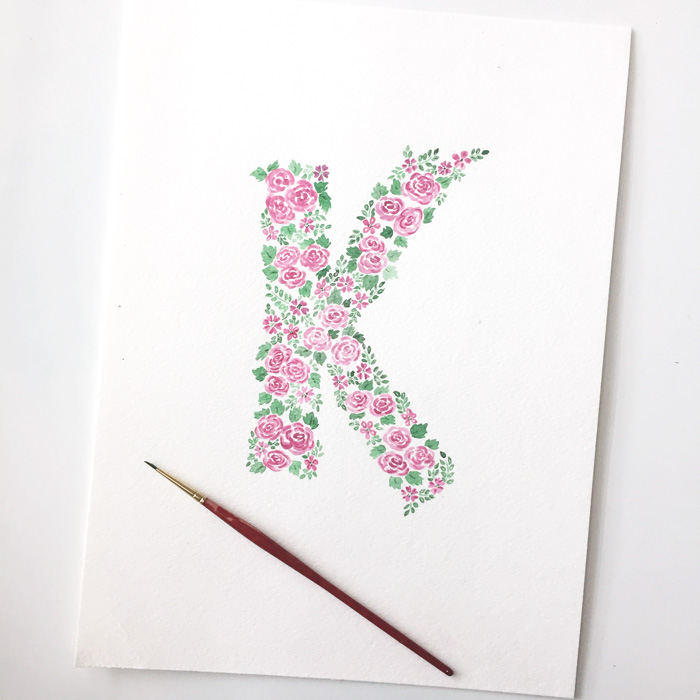
There you have it! A fabulous, inexpensive, personal hostess gift that is as fun to give as it is to create!
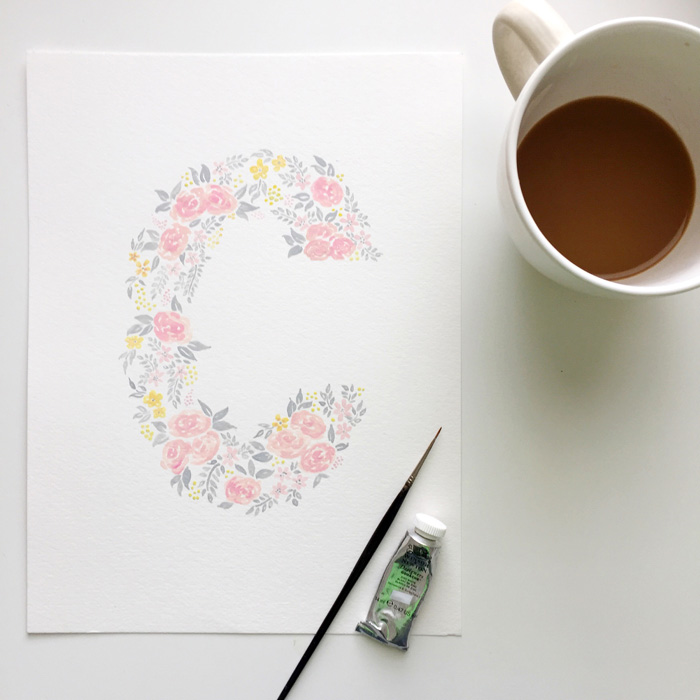
Once you get comfortable, try other variations, colors, add art pen details, try working with a cursive style letter and adding florals from the center…. there are so many ways to make this project your own! Have fun and get painting!!




This is so pretty! Love the colors. Makes a beautiful bridal shower gift!